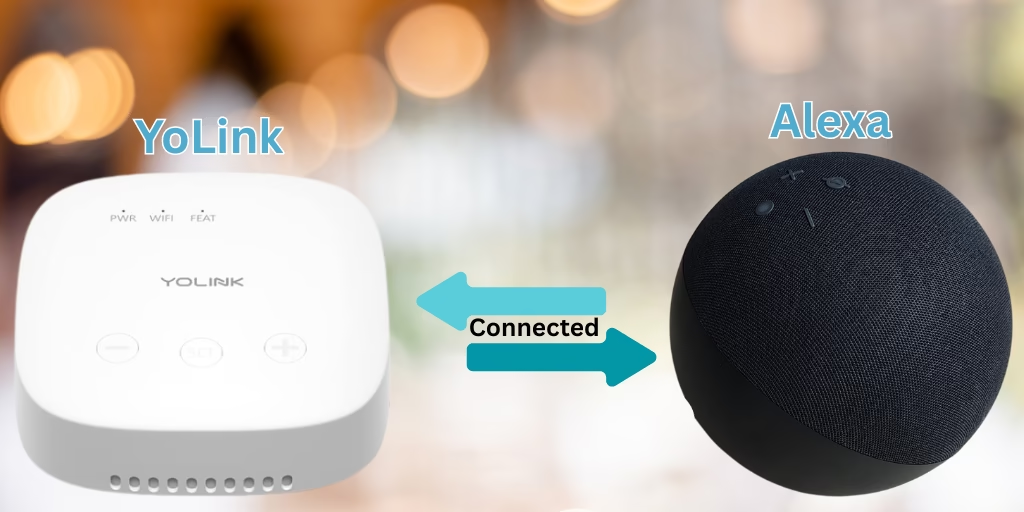
Connecting YoLink with Alexa
Voice control can make your YoLink smart home system go from “smart” to “smarter.” By linking YoLink devices to Alexa, you unlock hands free operation, advanced routines and cross platform automations. Here’s how to get set up, what you can do, and some trade offs to think about.
What You Need to Link YoLink with Alexa
- A YoLink Hub and YoLink smart devices (sensors, smart plugs etc.)
- An Amazon Echo, Echo Dot or other Alexa enabled device
- The latest YoLink mobile app (iOS or Android)
- The Amazon Alexa app on your smartphone
Enable the YoLink Skill in Alexa
- Open the Alexa app, tap More (☰) → Skills & Games.
- Search for ‘YoLink’, select the YoLink skill, and tap Enable.
- Sign in with your YoLink account credentials to link Alexa to your YoLink cloud.
The above steps grant Alexa access to your YoLink devices. Once linked, Alexa will automatically discover your YoLink devices (sensors and plugs) that are connected to your YoLink hub. The discovered YoLink devices can be found in the Alexa app under ‘Devices’
Allow Control of Security Devices
YoLink treats certain devices (garage door controllers, locks) as security hardware. To let Alexa activate them via scenes rather than a PIN, do the following:
- In the YoLink app, tap Menu → Settings → Account → Advanced Settings.
- Toggle on Control of Security Devices.
This exposes security type YoLink devices for scene based control.
Create a YoLink Scene
Alexa routines trigger YoLink scenes, not individual smart devices:
- In the YoLink app, tap Scenes (or Smart → +).
- Name your scene something Alexa won’t confuse with a command (e.g., “Left Garage Toggle” rather than “Open Garage”).
- Under Behaviour, tap +, choose Device Actions, select your garage door controller, or other device, then pick Toggle.
- Save the scene and mark it as a favourite for quick access.
Build an Alexa Routine
With your scene in place, create an Alexa routine that invokes it by voice:
- Open More (☰) → Routines → + in the Alexa app.
- Name your routine (e.g., “Toggle Left Garage Door”).
- Under When this happens, select Voice and enter a phrase like “Alexa, toggle left garage door”
- Under Add action, choose Smart Home → Scenes, then select your YoLink scene.
- Save the routine, now a simple voice command runs your YoLink scene.
Pros and Cons
Pros
- Hands free control: Issue voice commands to devices up to 1\4 mile away (YoLink maximum range).
- Routines: Combine YoLink scenes with non YoLink devices from other brands inside Alexa
- Bypass direct control limits: Using scenes avoids Alexa’s PIN requirement for security devices.
- Work with other brands: Chain YoLink scenes with other Alexa compatible devices (Philips Hue lights, TP-Link plugs) in the same routine.
Cons
- Scene only control: Alexa can’t directly toggle individual YoLink devices, you must wrap them in scenes.
- Naming finesse: Routine names must avoid triggering default Alexa actions (e.g., “open gate” can be misinterpreted).
- Sync delays: Scenes can take 1 to 2 seconds longer than direct device calls.
- Advanced settings: Enabling security control exposes critical devices; misconfiguration can pose risks if routines are misphrased.
Connecting your YoLink network with Alexa expands your home automations into voice driven controls. Once you’ve mastered scene creation and routine naming, the sky’s the limit.


