Make Manual Buttons and Switches Smart with a Fingerbot
Smart fingerbots are innovative devices designed to automate traditional buttons and switches, transforming ordinary appliances into smart ones. They are compact devices are perfect for those looking to easily modernise their home without replacing existing buttons and switches. This article looks at what they are, how they work, their limitations, and practical advice for installation and setup.
What Are Smart Fingerbots
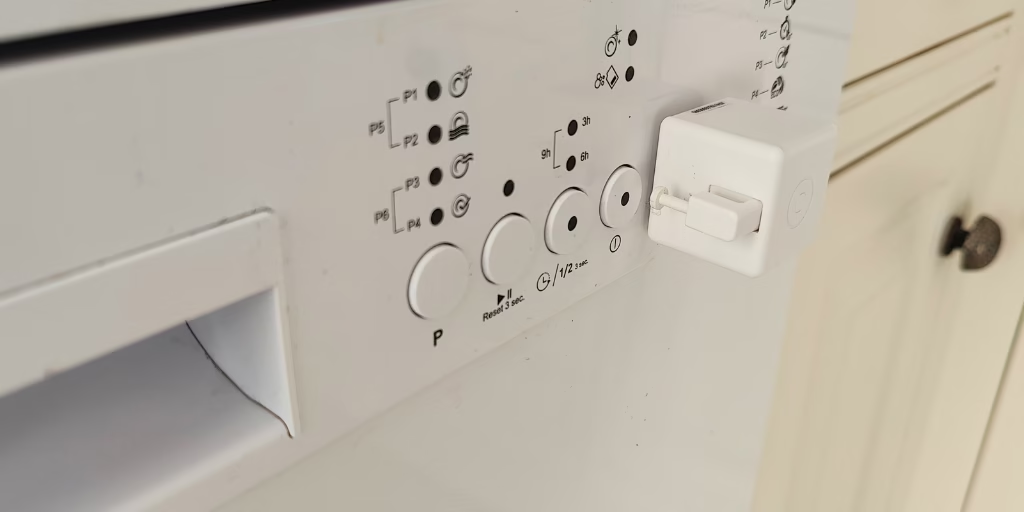
Fingerbots are small, motorised devices that physically press, toggle, or flip buttons and switches. They are controlled via a smartphone app, voice commands, or automation. By attaching a fingerbot to a device, you can remotely control appliances like coffee machines, light switches, garage doors and much more
How Can They Be Used
- Lighting Control: Automate traditional light switches to turn lights on or off remotely.
- Appliance Automation: Start coffee machines, fans, or other appliances remotely.
- Garage Door Operation: Use a fingerbot to remotely control garage door openers.
- Accessibility: Assist the elderly or individuals with mobility challenges by automating hard to reach or difficult to operate buttons.
Disadvantages and Limitations
- Physical Movement Required: The button or switch must physically move for the fingerbot to work. Capacitive touch buttons and touch screens, which rely on electrical conductivity, are not compatible.
- Limited Force: Fingerbots may struggle with buttons or switches that require significant force to operate.
- Battery Dependency: Most fingerbots are battery powered, requiring periodic replacement.
- Aesthetic Impact: Smart fingerbots are small but can still look comparatively bulky when attached to a small button or switch.
- Connectivity Requirements: Some models require a hub or gateway for remote control and integration with smart home systems.
Practical Advice for Installation and Setup
- Choose the Right Model: Ensure the fingerbot is compatible with the type of button or switch you want to automate.
- Attach Securely: Use the included adhesive or mounting accessories to attach the fingerbot firmly to the button or switch. The adhesive is usually very strong and when removed will potentially damage some surfaces e.g. wallpaper or paint.
- Calibrate the Arm: Adjust the arm’s movement range to ensure it presses or toggles the button effectively. You don’t want the fingerbot pushing too hard, as it may push itself off the surface it is attached
- Test the Setup: Verify that the fingerbot operates the button or switch as intended. Make adjustments if necessary.
- Integrate with Smart Home Systems: If supported, connect the fingerbot to platforms like Alexa, Google Home, or Home Assistant for voice control and automation.
Common Features and Settings
- Interchangeable Arms: Different arm designs for various different button and switch types.
- Customisable Movement: Adjustable movement and duration of the arm
- Timer and Scheduling: Set specific times for the fingerbot to operate.
- App and Voice Control: Manage the device remotely via a smartphone app or voice assistants.
- Battery Monitoring: Check battery levels through the app, get alerts to low battery
