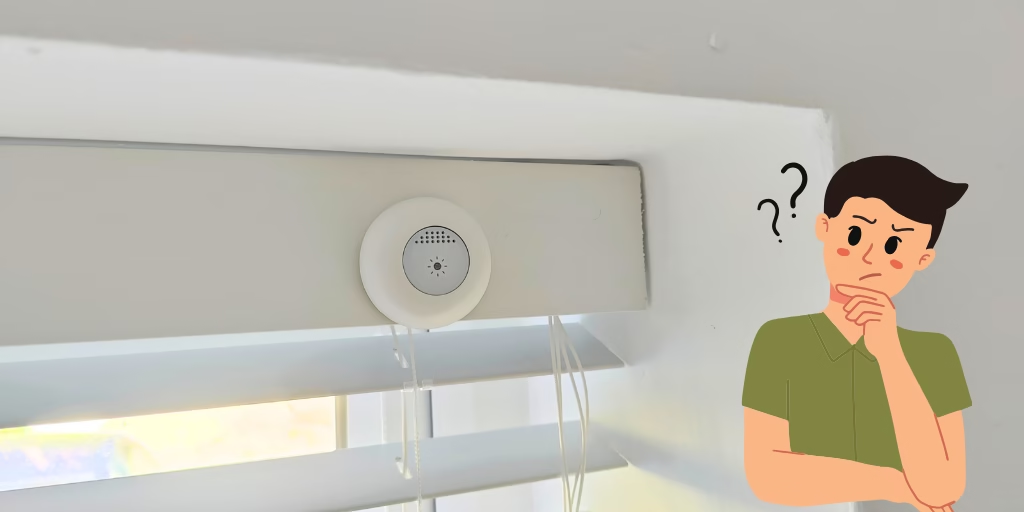
Practical Guide: Locating a Smart Light Illumination Sensor in Your Home
Smart light sensors can optimise lighting, save energy and enhance home security. Their effectiveness depends largely on proper placement. This guide covers key considerations and best practices when locating smart light illumination sensors in your home.
Understand How Smart Light Sensors Work
Smart light sensors (also called ambient light sensors) detect natural and artificial light levels.
They are typically used for the following reasons:
- Adjust Smart Lights: Automatically dim or brighten smart lights based on ambient light.
- Trigger Automations: Turn lights on or off depending on the detected brightness.
- Save Energy: Prevent unnecessary lighting during daylight hours.
Key Considerations for Placement
Purpose of the Sensor
- General Room Lighting: Place the sensor in an area where it can detect the overall ambient light of the room.
- Task-Specific Lighting: For specific tasks (e.g., kitchen counters or workspaces), position the sensor near the task area.
- Security Lighting: Place outdoor sensors near entry points to detect changes in light and trigger security lights.
Avoid Direct Sunlight
Avoid placing the sensor where it gets direct sunlight. This will result in inaccurate readings and may turn off lights prematurely.
Ideal locations include:
- Opposite a window but not directly facing it.
- On a wall with indirect natural light.
Avoid Obstructions
Ensure a clear line of sight. Objects such as furniture, curtains, or plants can block light and lead to inaccurate readings. Avoid corners or areas with excessive shadows.
Height and Angle
- Ideal Height: Mount sensors between 1.5–2 metres (5–6.5 feet) for standard indoor use.
- Angle Matters: Angle the sensor slightly downward if mounted higher to capture a more accurate reading of ambient light.
Room Size and Layout
- Large Rooms: Multiple sensors may be needed in larger spaces or open plan layouts to account for varying light conditions.
- Open Vs. Enclosed Spaces: Consider how natural light changes between connected rooms and hallways.
Recommended Locations
Living Room
- Position near a window but away from direct sunlight.
- Avoid mounting directly above or behind lamps or light sources.
Kitchen
- Avoid placement close to heat producing appliances.
Bedroom
- Position away from bedside lamps to prevent incorrect light dimming.
- Near a window for natural light detection during the day.
Bathroom
- Away from shower steam \ heat or direct water exposure.
Outdoor Areas
IMPORTANT: Make sure that the light brightness sensor is suitable for outdoor use and has an appropriate IP rating
- Position under eaves or porches to avoid direct weather exposure and sunlight
- Away from bright outdoor lights
Factors to Avoid
- Heat Sources: Avoid placing near heat vents or appliances that can affect sensor readings.
- Glare or Reflections: Reflections from mirrors or glass can distort sensor accuracy.
- High Traffic Areas: Placement in high traffic areas can cause unnecessary triggering, due to shadowing
Testing and Calibration
- Test During Different Times of Day: Ensure the sensor reacts appropriately to changing light conditions.
- Adjust Sensitivity Settings: Some sensors allow fine tuning to match the desired lighting conditions.
By carefully considering the above factors, you can optimise the performance of your smart light sensors.


